First Gear Getter for 2008 and newer VW and Audi

$26.00

Click here for Install Instructions

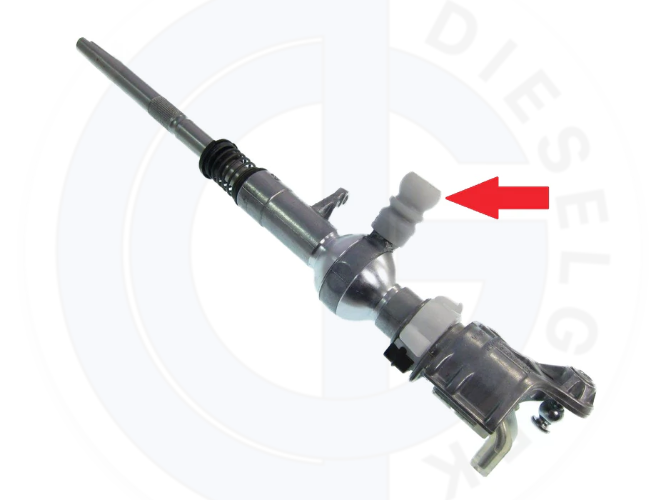
Has your 2007 or newer VW lost first or fifth gear?

We've been reuniting VW owners with their first gears for years! Repair the sloppy, damaged or missing relay ball on your year model 2008 through 2019 MK5 and MK6 shift lever with our innovative bell crank relay socket. When your relay ball bushing breaks you will find that it is hard to get into reverse or first gear without pushing the shifter stick very hard to the left. You might even readjust your shifter to enable you to get first and second gears but that makes it darn near impossible to get fifth gear. The dealer alternative to this repair kit is to buy a new shifter shaft assembly from the dealer for around $100 and then drop the exhaust, heat shield and shifter box to install it.

To install this part you will likely have to remove the center console* inside the cabin and glue the part onto the aluminum tang on the left of the shifter stick. There is a new stainless steel pin that helps locate it at the right depth while the JB-Weld epoxy you apply (not included) sets up overnight.  Does not fit MK7 cars. Proudly made in the USA and guaranteed for as long as you own your car!

If you would like to get the best shifting you've ever experienced in your VW then get the Deluxe Shifter Bushing kit for 2008+ MK5 and Mk6 vehicles

Fits the following years and models with five or six speed manual transmissions:

2012 - 2014 Golf R
2008 - 2014 VW Golf and GTI
2008 - 2014 VW Golf and Jetta Sportwagen
2008 - 2009 VW Rabbit
2012 - 2019 VW Beetle
2008 - 2018 VW Jetta and GLI
2008 - 2019 VW Passat and CC
2009 - 2017 VW Scirocco
2008 - 2016 VW Eos
2008 - 2019 VW Tiguan
2008 - 2019 Audi TT, TTS, and TTRS
2008 - 2019 Audi A3, Cabriolet and S3
2011 - 2019 Audi Q3 and RS Q3

2008 - 2019 Seat Toledo, Leon, Alhambra, Altea, and Mii
2008 - 2019 Skoda Fabia, Octavia, Yeti

US shipping:  We offer and highly recommend $7.99 FedEx 2 Day shipping on this item if you are in any sort of hurry to get it.  Slower US Postal Service shipping is around $3.00.  We ship Monday through Friday from Colorado except on holidays.  

International shipping:  USPS shipping is currently suspended due to USPS system backlogs. In these uncertain times we offer the slightly more expensive but much faster FedEx International Economy® service. FedEx will likely collect local taxes upon delivery.  Also, for Canada, the new USMCA trade agreement will reduce taxes and duties on this item.

Install Video:


Customer Reviews

Based on 5 reviews
60%
(3)
20%
(1)
20%
(1)
0%
(0)
0%
(0)
D
David

Awesome customer service very patient with me when I was confused and even sent me the video that explained how to install the part I needed.

C
Carlos S
Very stable and big improvement from OEM

My OEM part was bending and making noises in 1st gear. Installing this made it very stable and eliminated the rubbing noise. I installed the FGG in conjunction with Super Pin, Bushings, and various OEM parts. It was easier to change the FGG when the bell crank and shifter ball was off. Installation was easy. I used JB Weld because of higher strength and it solidifies without issues. Jim sent me an updated FGG that has a hole to facilitate excess air and JB Weld to leave as you press the FGG. Once it was snug and all excess was wiped off, I clamped the FGG to the shifter. After 24 hours the FGG had a solid bond. This part was built more robust than the OEM part. OEM has four teeth that hold the return spring. FGG has a continuous channel that makes constant contact with the spring.

J
John
Give it a second thought

Bought this item for my Mk6 golf, paid 24.88£ for item and postage, then had a customs charge(UK) of 14.81£ so dear for such a small part, (not sellers fault just making people aware of this)
Fitting the item is a pain, the white socket for the ball is a pain to remove and even more pain to refit, damaged mine refitting nothing like in the video, also he recommended using silicone to fix the bushing in place DO NOT DO THIS, attempted this method, cleaned mating surface with isopropyl alcohol, and it wouldn't adhere,
Ended up using UHU mulit purpose adhesive and added knurling with a small triangle file, let sit overnight with vise grips on it gently.

If I was to fit this again would use a small drill bit and split pin to fasten the bushing in place as well as glue.

If you don't mind messing about with your car then go ahead and fit this if you have short temper and get annoyed easily I'd say don't

Hi John,

Thanks for your candid review. I wanna say that in recent weeks that our small brown envelopes that we use to ship small items in are being flagged in the UK for taxes at an ever increasing rate. Sorry for that. We do mention the possibility on our shipments page here: https://www.dieselgeek.com/pages/we-ship-worldwide.

As far as fitting is concerned I agree that the riveted bellcrank on MK6 shifters from 2008-2014 makes the install of this part more of a challenge than our MK4 FGG. You might be interested in knowing that we just released a new Super Pin for Mk5 and Mk6 cars such as yours. This product replaces the riveted pin that holds the bellcrank in place. This bellcrank is absolutely in the way when installing the FGG2 but if you use the MK6 Super Pin you can remove the bellcrank for easy access to the First Gear Getter. Yes, it is an added cost but the forward pivot pin/bushing is a serious weakness on Mk6 shifters so it should be replaced with our Super Pin for best shifting.

As for the adhesive to use on the FGG, I believe the issue stems from not letting enough air contact of the wet adhesive prior to gluing it to the shifter stick. There have been over 100 installs of this part and only a few have had issues with the silicone not working. A little known fact is that the silicone adhesive requires air contact to start the chemical process of setting so if you are too quick to insert the FGG onto the nubbin of the shifter stick the silicone inside the cavity might never set. SO, I recommend waiting a few minutes after applying the silicone before putting the FGG onto the shifter stick protrusion. I will reshoot the YouTube video once my camera person returns to work, hopefully in a few weeks.

D
Dave
works great, but took two tries.

i followed the video instruction as closely as possible, used a high quality silicone, cleaned everything off, let it sit in 80 degree weather for a full 24 hours only to find there was almost no adhesion.
plan B: remove and clean everything off again, knurl the stem on the factory shifter with a small file, and do the same to the inside of the f.g.g. cleaned all components then applied standard JB weld and clamped everything together. after another 24 hour period it's as solid as it could possibly be.

Hi Dave, I am responding to this review to let others know that the part has been redesigned to make installation much easier. It now has a roll pin to slot down through the notch in the aluminum tang. This holds the FGG on the tang while the JB-Weld epoxy sets up. Hard to get it done wrong now.

S
Scott J Carlson
old guy

very pte ise instruction explanation thank you!

Customer Reviews

Based on 4 reviews Write a review